Who doesn’t love a happy baby? This is one of yoga’s most aptly named poses, as anyone with a young child knows since babies do always look inordinately pleased when grabbing their feet in pretty much this exact way. It’s also an example of the type of mobility we had as children, then many of us lose as adults once we start to excel at sitting on chairs. But the good news is we can regain our delight in grabbing our toes through regular practice.
Happy Baby Pose is often done at the end of a yoga asana session, perhaps just before Savasana. It makes sense there because it’s nice to give your hip area one last stretch before you rest, but you can also do a gentle version of this pose at the top of your practice. Just don’t go for as deep a stretch if you’re not warmed up.
And one more key thing: While the cue ‘draw your knees to your armpits’ (or even ‘draw your knees toward the floor’) is often given for this pose, knees in armpits is absolutely NOT the ‘goal’ of the pose. It’s just a description of the general trajectory of your knees. Too often, pulling the knees down comes at the expense of curling the tailbone off the floor. For the love of Pete, keep your tailbone down at all costs!
Instructions:
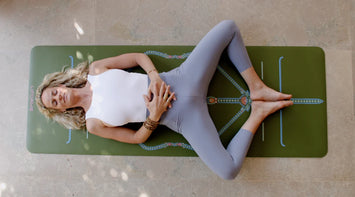
1. Come to lie on your back.
2. Bend your knees in gently toward your chest.
3. Separate your knees wide to either side of your torso.
4. Reach down and catch hold of the outside of each foot with the corresponding hand. Your shoulders and head stay on the floor.
5. Keeping your knees bent, take your shins perpendicular to the floor with the soles of your feet facing the ceiling as if you were going to stand on it. Keep this position of the shins and feet throughout the pose.
6. Flex your feet strongly and activate your toes by separating them.
7. Draw your upper arms back into their shoulder sockets if they’ve shifted up.
8. Anchor your sacrum to your mat.
9. Exert some pressure through your hands into your feet to create a bit of traction.
10. Keep your sacrum on the mat no matter what!
Variations:
11. If it feels good, you can rock side-to-side gently. Just make sure that your tail doesn’t roll up toward your face as you do this.
12. If it feels good, you can straighten each leg in turn while keeping hold of the outside edges of your feet.
13. You can also let go of one foot and release that leg long to the floor. Keep both feet flexed in this Half Happy Baby. After several breaths, switch sides.
Adaptations and Props:
Keep in mind these two key alignment points: Sacrum and tailbone on the floor, shins perpendicular to the floor. If you can’t reach your feet while maintaining these two conditions, either hold the back of your thighs instead or use a strap. Hold one end of the unbuckled strap in each hand and let the strap pass over the instep of each foot. Pull gently on both ends of the strap while keeping your feet flexed.
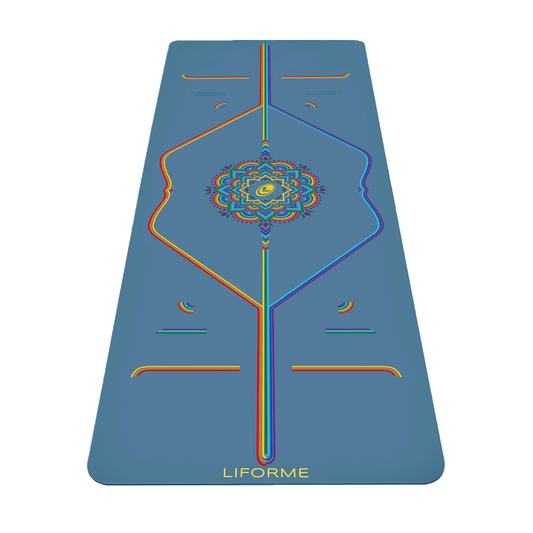
Featured Yoga Mat: Liforme Purple Earth